US Visa Fees 2025: What You’ll Pay and When
Understanding US Visa Fees
Navigating the world of US visa fees can feel overwhelming, especially for first-time travelers. With various visa types, each carrying its own set of costs, understanding the financial requirements is crucial for effective budgeting. This section will break down the different types of US visas, their associated application fees, and any additional charges you might encounter along the way.
Types of US Visas
The United States offers a wide range of visa categories to accommodate various travel purposes. Here are the primary types you’ll encounter:
- Tourist Visa (B-2): Ideal for leisure travel, this visa allows visitors to explore the US for up to six months. The application fee is typically around $160.
- Business Visa (B-1): For those traveling to the US for business meetings, conferences, or negotiations, the B-1 visa also carries a fee of approximately $160.
- Student Visa (F-1): If you plan to study in the US, you’ll need an F-1 visa. The application fee is $160, but you should also budget for the SEVIS fee, which is around $350 for most students.
- Exchange Visitor Visa (J-1): This visa is for individuals participating in approved exchange programs. The application fee is $160, with potential additional costs for the SEVIS fee.
- Work Visa (H-1B, L-1, etc.): Work visas vary in cost depending on the specific category, but application fees generally start around $190 and can go higher based on the employer’s petition.
Each visa type serves a unique purpose, and understanding which one fits your travel needs is the first step in the application process.
Application Fees Overview
When applying for a US visa, the application fee is just one part of the financial equation. Here’s a closer look at the fees associated with different visa categories:
- Tourist and Business Visa (B-1/B-2): $160
- Student Visa (F-1): $160 plus SEVIS fee of $350
- Exchange Visitor Visa (J-1): $160 plus SEVIS fee (varies by program)
- Work Visa (H-1B, L-1, etc.): $190 to $460 depending on the specific visa type
These fees are non-refundable, so it’s essential to ensure that your application is complete and accurate before submission.
Additional Fees to Consider
In addition to the standard application fees, travelers should be aware of potential additional costs:
- Reciprocity Fees: Some countries are subject to reciprocity fees, which are additional charges based on what the US government charges citizens of your country for a US visa. These fees can vary significantly, so check the U.S. Department of State’s reciprocity page for specifics.
- Biometric Fees: Depending on your visa type and country of origin, you may be required to pay biometric fees, which typically range from $85 to $200.
- Expedited Processing Fees: If you need your visa processed quickly, expedited services can incur additional costs, often around $60 to $100.
Understanding these additional fees can help you avoid surprises and ensure that you budget accurately for your trip.
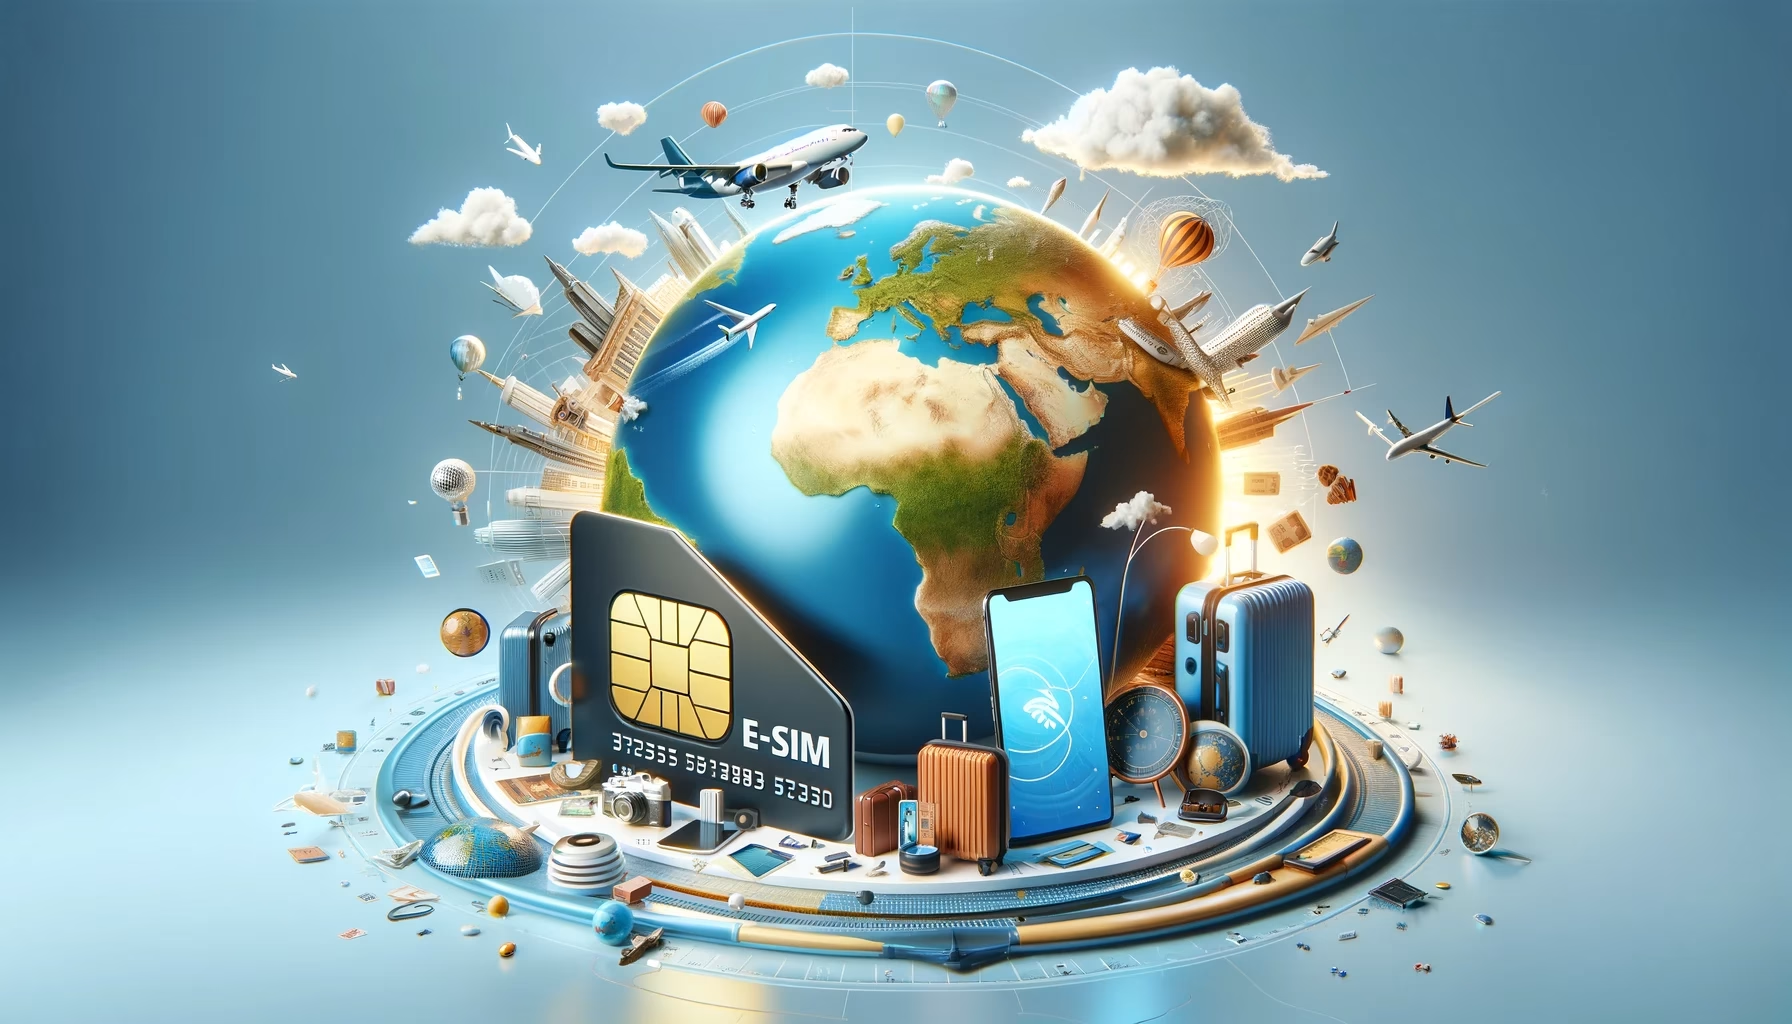
As you prepare for your journey to the US, consider how staying connected can enhance your travel experience. Services like Telekonek offer eSIM solutions that ensure you have reliable internet access, making it easier to manage your visa application and stay in touch with loved ones while abroad.
With a clearer picture of the various visa fees and requirements, you can now move on to the next section, where we’ll delve into the payment methods available for US visa fees. Knowing how to pay your fees efficiently is just as important as understanding the costs themselves.
How to Pay US Visa Fees
Once you’ve familiarized yourself with the various US visa fees, the next crucial step is ensuring you can pay those fees smoothly and efficiently. Understanding the payment methods available and the process involved can save you time and prevent potential headaches as you navigate your visa application journey.
Accepted Payment Methods
When it comes to paying your US visa fees, you have several options at your disposal. The most common methods include:
- Credit and Debit Cards: Most applicants prefer using credit or debit cards for their convenience. Visa, MasterCard, American Express, and Discover are generally accepted.
- Bank Transfers: For those who prefer a more traditional method, bank transfers can be arranged. However, this may take longer to process, so plan accordingly.
- Cash Payments: In some countries, cash payments can be made at designated banks or payment centers. Check the specific instructions for your country to see if this option is available.
- Money Orders or Certified Checks: These are also accepted in certain situations, particularly when applying through a consulate or embassy.
Step-by-Step Guide to Making an Online Payment
Paying your US visa fee online is straightforward. Here’s a step-by-step guide to help you through the process:
- Access the Payment Portal: Visit the U.S. Visa Information and Appointment Services website specific to your country.
- Select Your Visa Category: Choose the visa type you are applying for to ensure you are directed to the correct fee structure.
- Complete the DS-160 Form: Before making a payment, ensure that you have completed the DS-160 form online. You will need the confirmation number from this form for the payment.
- Choose Your Payment Method: Select your preferred payment method from the options available (credit card, bank transfer, etc.).
- Enter Your Payment Details: Fill in the required information, including your card number, expiration date, and CVV for credit cards, or the necessary information for bank transfers.
- Review and Submit: Double-check all your information for accuracy before submitting your payment. A confirmation receipt will be generated once your payment is processed.
- Keep Your Receipt: Save or print your payment confirmation as you will need it for your visa application.
It’s important to note that visa fees are generally non-refundable, so ensure that all your details are correct before submitting your payment.
Tips for Avoiding Common Payment Issues
While the payment process is typically smooth, there are a few common issues that applicants encounter. Here are some tips to help you avoid them:
- Check Your Card Limits: Ensure your credit or debit card has sufficient funds and is not subject to international transaction limits.
- Use Compatible Browsers: Sometimes, payment portals may not function properly on all browsers. Using updated versions of Chrome or Firefox can help.
- Clear Your Cache: If you encounter issues, clearing your browser’s cache can resolve many technical problems.
- Double-Check Your Information: Always double-check the accuracy of your personal information and payment details before submitting.
- Contact Support if Needed: If you run into issues, don’t hesitate to reach out to customer support through the payment portal or your local embassy for assistance.
As you prepare to make your payment, consider how you will stay connected during your travels. Services like Telekonek offer eSIM solutions that allow you to maintain connectivity without the hassle of traditional SIM cards, ensuring you can access important information and support while abroad.
With your payment taken care of, you’re one step closer to securing your visa. Up next, we’ll explore visa fee waivers and reductions, which could potentially ease the financial burden for certain applicants. Stay tuned!
Visa Fee Waivers and Reductions
Navigating the complexities of US visa fees can be daunting, especially for travelers who may face financial constraints. Fortunately, the U.S. government offers various fee waivers and reductions to enhance accessibility for specific groups. Understanding these options can significantly ease the financial burden associated with obtaining a visa.
Eligibility Criteria for Fee Waivers
Fee waivers are primarily available for low-income applicants and certain visa categories. Here are some key eligibility criteria to consider:
- Low-Income Applicants: Individuals who can demonstrate financial hardship may qualify for a fee waiver. This typically requires proof of income, such as tax returns or pay stubs.
- Specific Visa Categories: Certain non-immigrant visas, including those for students and exchange visitors, may have reduced fees or waivers available.
- Humanitarian Cases: Applicants seeking asylum or those involved in other humanitarian programs may also be eligible for fee waivers.
It’s essential to check the specific visa type you are applying for, as eligibility can vary. For example, the U.S. Department of State outlines detailed criteria for each visa category.
How to Apply for a Fee Waiver
Applying for a fee waiver involves a few straightforward steps:
- Complete the Application Form: When filling out your visa application, indicate your request for a fee waiver. You may need to complete a specific form, such as the Form I-912 for immigration benefits.
- Provide Supporting Documentation: Gather necessary documentation to support your claim of financial hardship. This may include income statements, bank statements, or proof of government assistance.
- Submit Your Application: Send your completed application, along with the fee waiver request and supporting documents, to the appropriate address as specified in the application instructions.
Be mindful of deadlines and ensure that your application is complete to avoid delays. If you’re unsure about the process, consider reaching out to legal aid organizations that specialize in immigration matters for assistance.
Programs That May Qualify for Reduced Fees
Several programs and initiatives may qualify applicants for reduced visa fees. Here are a few notable examples:
- Exchange Visitor Program: Participants in certain exchange programs may be eligible for reduced fees, making it easier for students and professionals to gain experience in the U.S.
- Nonprofit Organizations: If you are affiliated with a recognized nonprofit organization, you may be able to apply for a fee waiver under specific conditions.
- Humanitarian Programs: Individuals applying for visas under humanitarian grounds, such as refugees and asylees, often have waived fees to facilitate their entry into the U.S.
For more detailed information on specific programs and their eligibility, refer to the U.S. Department of State’s website or consult with legal aid organizations that can provide tailored advice.
Understanding the options for fee waivers and reductions can significantly impact your travel plans, making it easier to secure your visa without financial strain. With this information in hand, you can now turn your attention to another crucial aspect of the visa process: the processing times and what to expect during this waiting period.
Final Checklist Before Traveling
As your travel date approaches, ensuring that you have everything in order can make the difference between a smooth journey and a stressful one. Here’s a comprehensive checklist to guide you through the essential steps and documents needed before you set off to the United States.
Essential Documents
Before you embark on your journey, double-check that you have all the necessary documents in hand:
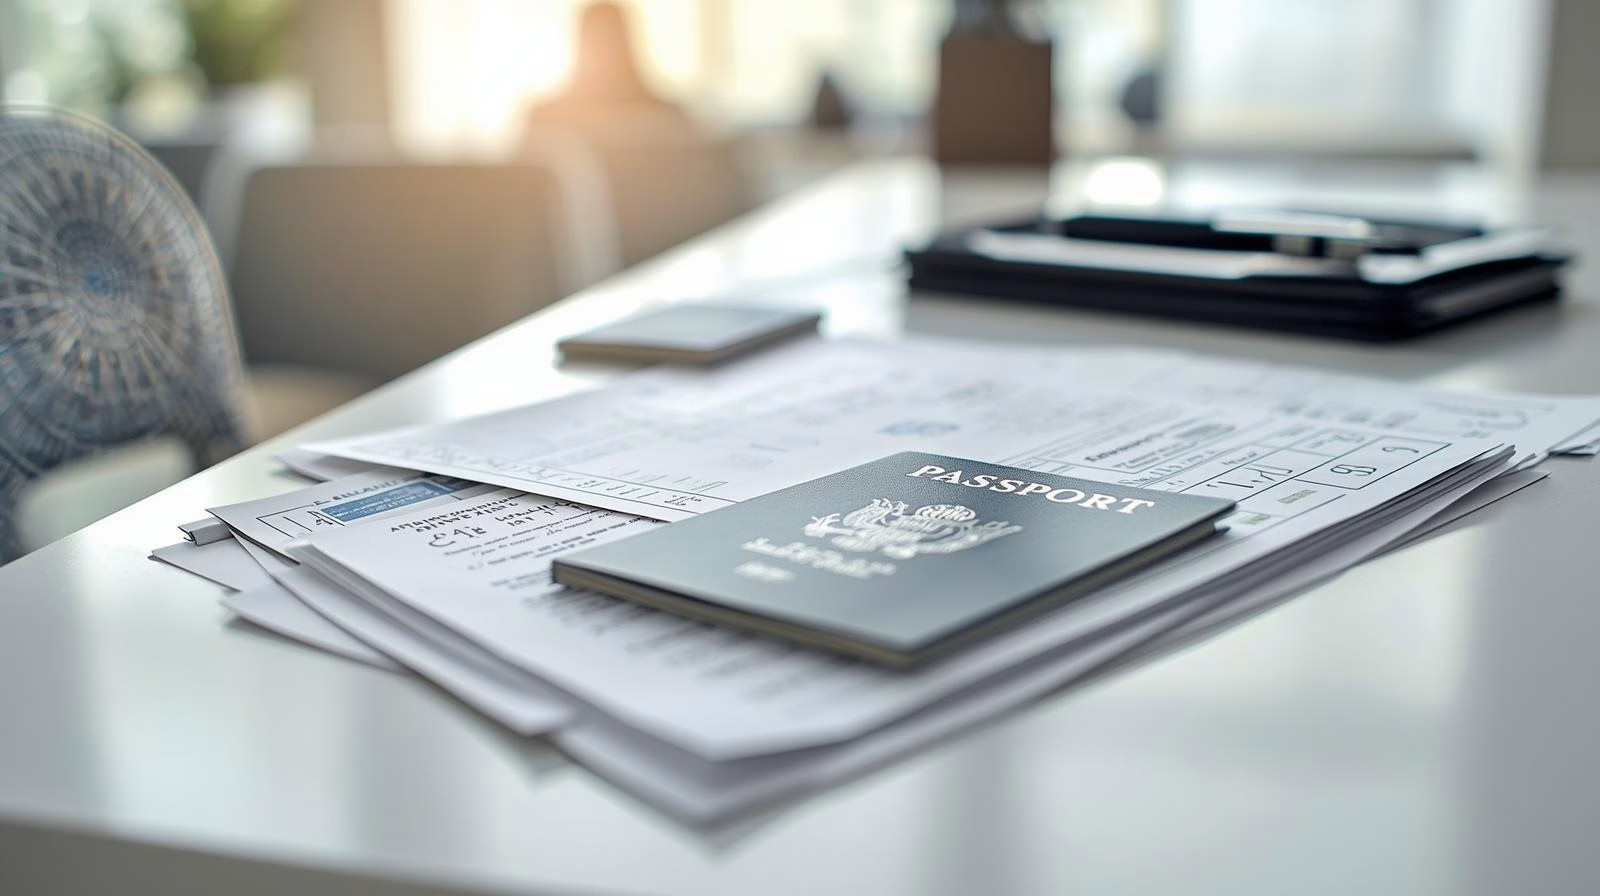
- Visa: Ensure your visa is approved and printed. Keep a copy with you and another in your luggage.
- Passport: Your passport should be valid for at least six months beyond your planned date of departure from the US. Make sure it has blank pages for entry stamps.
- Travel Insurance: Consider purchasing travel insurance that covers health, accidents, and trip cancellations. This can provide peace of mind during your travels.
- Itinerary: Keep a printed copy of your travel itinerary, including flight details, accommodation addresses, and any pre-booked activities.
- Emergency Contacts: List important contacts, including your country’s embassy in the US and local emergency numbers.
Final Preparations
With your documents sorted, it’s time for some final preparations that will enhance your travel experience:
- Currency Exchange: Familiarize yourself with the current exchange rates and consider exchanging some currency before you arrive. ATMs are widely available in the US, but having cash on hand can be useful for small purchases.
- Packing Tips: Pack according to the weather forecast for your destination. Don’t forget essentials like chargers, adapters, and comfortable walking shoes. If you plan to use your phone for navigation or communication, consider getting an eSIM from Telekonek for seamless connectivity without the hassle of physical SIM cards.
- Medications: Bring any necessary prescription medications, along with a copy of the prescription. It’s also wise to pack a small first-aid kit for minor ailments.
Last-Minute Reminders
As departure day approaches, don’t forget these last-minute tasks to ensure everything is in place:
- Confirm Accommodations: Reach out to your hotel or rental property to confirm your reservation and check-in details. This can prevent any surprises upon arrival.
- Transportation Arrangements: If you’re renting a car or using public transport, confirm your bookings and review the routes. Apps can help you navigate easily, and having a reliable internet connection will make this process smoother—consider using Telekonek’s travel connectivity solutions to stay connected.
- Check Travel Advisories: Review any travel advisories from your government regarding your destination, including health and safety updates.
With these essential steps completed, you’ll be well-prepared for your trip to the United States. Remember that travel is not just about reaching a destination; it’s about the experiences you gather along the way. Enjoy the journey, embrace the culture, and make the most of your time in this vast and diverse country.
As you embark on your adventure, keep in mind that staying connected can enhance your travel experience significantly. Whether it’s sharing your journey on social media, navigating unfamiliar cities, or staying in touch with loved ones back home, having reliable connectivity is crucial. Explore options like Telekonek for eSIM services that cater to your travel needs.
Safe travels, and may your journey be filled with unforgettable memories!